Getting the best out of Limestone Flooring with Tile Doctor Burnishing Pads in Southall West London
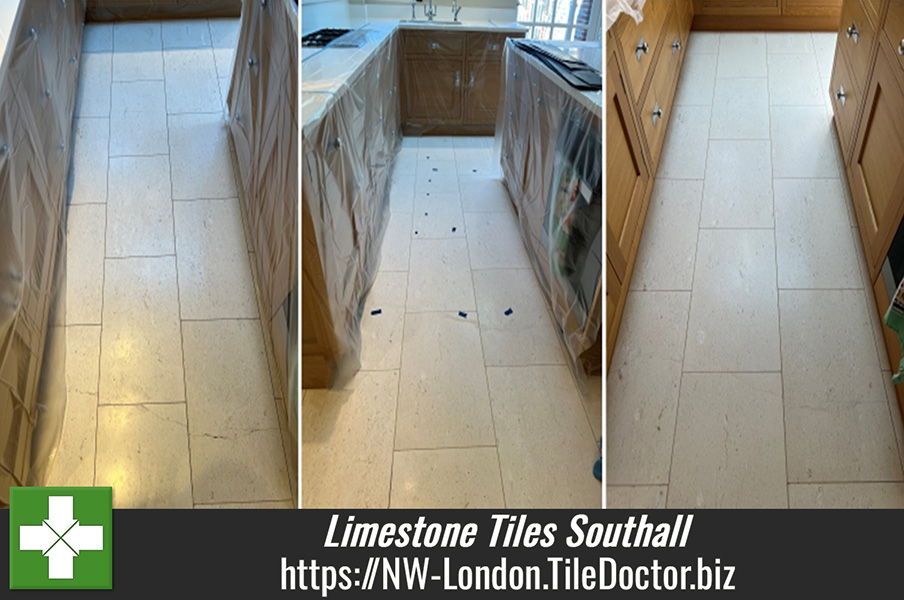
Details below of the restoration of a Limestone floor at a beautiful 1930’s property in Southall. The limestone looked like it had suffered from movement in the foundations as there were many cracks in the tiles throughout the kitchen. Additionally, the grout lines had become darkened with dirt over time and the pitting in the tiles had also attracted dirt, darkening the appearance of the floor.
 |  |
The client enquired about cleaning the floor, repairing the cracks and sealing the tiles so I arranged to visit the property to survey the floor and work out a quote. Once I had made a note of all the issues, I worked out a restoration plan which I used to work out a detailed quote for the work which was accepted.
Cleaning and Repairing a Limestone Tiled Kitchen
The first job was to cover the kitchen unites with plastic wrap and protect any vulnerable areas. Then a strong dilution of Tile Doctor Pro-Clean was sprayed onto the floor and left to soak in for ten minutes. The solution was then scrubbed into the tile and grout with a rotary machine fitted with a black pad and by hand using a stiff brush where needed.
A steamer was used to deep clean the pits in the Limestone and lighten the look of them. Next, the cracks were filled using a polyresin filler which was mixed to get the best colour match. there were about 10-15 cracks to fill in total.

Once the filler had dried the filler was sanded using a set of handheld diamond hand burnishing blocks of increasingly finer grits. This was done to remove the excess resin leaving a smooth finish and ensure the was no shadowing along the crack.
With the filling complete the next step was to hone the Limestone floor using a couple of diamond encrusted burnishing pads which further clean the stone and bring up its appearance. The process starts with a coarse 400-grit pad which is fitted to the rotary buffer and run over the floor with water which lubricates the process. Once each tile has been burnished three of four times the soiling generated is rinsed off the floor with water and extracted with a wet vacuum.
 |  |
The pad is then changed for a finer 800-grit pad and the process repeated to leave a natural, matt finish as per the client’s request. Again, water was used to lubricate the process and then a wet vacuum used to remove all the soiling and excess water. Once done the tiles were wiped to remove any residue and then left to dry.
Sealing a Limestone Kitchen Tiles
To seal the tiles Tile Doctor Ultra-Seal was applied with a dry microfibre cloth and then left to absorb into the stone. This is an impregnating seal that does not sit on top of the tile, it soaks into the pores to prevent dirt from residing there. Once the seal had impregnated into the tile the floor was buffed using a white pad fitted to the rotary machine to remove excess sealer and give a consistent and uniform finish.
 |  |
The client was really pleased with the results, and the filled cracks blended well into the floor making them unnoticeable. The process also made the kitchen feel a lot brighter and resulted in the following customer feedback:“Communication was speedy and my tricky tile problems were resolved better than I thought by Tile Doctor. Visitors have been commenting how much brighter and more detailed my stone floor is now, and the cracks have been stabilised so well. Very happy.”
For aftercare cleaning I recommended Tile Doctor Stone Soap as this contains a patina enhancer that will help maintain the appearance of the tiles.
Source: Professional Limestone Tile Restoration Services near Southall NW-London